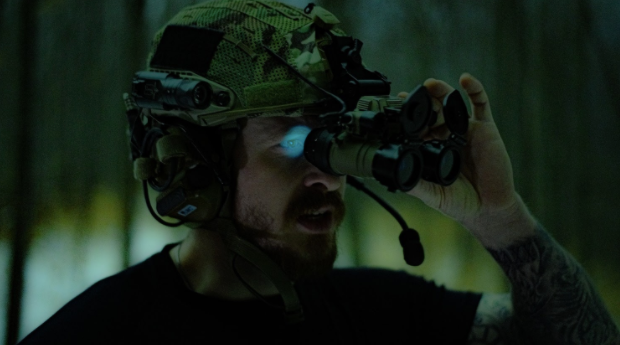
Make Your Own Night Vision Goggles

Either you are a nighttime hunter or simply just a person who loves to scan things in the dark, and you certainly would love to have night vision goggles. This type of goggles allows you to see an object or any living creatures clearly, even in the absence of light. This is possible because instead of relying on light, a night vision goggle uses infrared light to locate objects or living things that produce heat.
This means that even if there is no light, a night vision goggle uses the heat inside our bodies to form an image that allows the user to track and locate anything that produces heat. These goggles are perfect for hunters that are authorized to hunt during nighttime. All of their targets have heat, so even if it is hard to locate them due to the lack of light or all the trees around, a night vision goggle could quickly locate them by tracking their heat signatures.
But night vision goggles could get a little pricey, especially when the goggles have other special features. The price of standard high-quality night vision goggles would range from around $150-$250. If the price gets lower than that, it might not perform as well as the standard night vision goggles. $150 is already a pain in the wallet. Lucky for you, there are a lot of websites that provide a step-by-step process on how you can make DIY night vision goggles.
To provide you with some assistance, we will give you a simplified procedure for making DIY night vision goggles.
1.Prepare all the needed tools
Before you get started creating your DIY night vision goggles, you first need to prepare all the materials and tools you need. Even though you want to establish a different look for your DIY goggles, they all have the same essential materials. Here the most common materials needed in making DIY night goggles:
- Mini-display with a small screen monitor
- Highly sensitive analog or security camera
- IR diodes or IR flashlight
- Voltage converter (step-down)
- VR goggles (this is a must)
- Two electrical switches
- Ion batteries
- Glue
- Epoxy
2.Make your Power Supply
Making a Power Supply is not that difficult if you already have your VR goggles with you. You simply just install all the batteries in the battery pack, connect them to your voltage converter, and then change the power output to 12 volts.
Ion batteries usually have 15 volts of electricity, too much for your analog camera and the display, so you need a voltage converter.
3.Attach the camera and the display
These 2 major components are the key to creating your DIY night vision goggles. Attach the camera to the display you have and then connect it to the power supply with the Ion batteries. Use the first electrical wire and connect it to the first switch.
4.Use the second wire and connect the IR diodes.
Get your power supply and connect the IR diodes where you connected your analog camera and your display. Don't forget to regulate the battery voltage by connecting the IR diodes to your resistor.
5.Final checkups
After that, you can test your night vision goggles and try to evaluate if it functions well. Adjust the loose or tight parts and then strengthen the attachment by adding a new batch of glue. But be careful not to make it look messy.
These are just simplified step-by-step procedures on how you can create DIY night vision goggles. You can try searching for websites that provide more complex processes. Please take note that your DIY night vision goggles may not have the same look like the average night vision goggles, but for as long as it still functions, you don't have anything to worry about.